
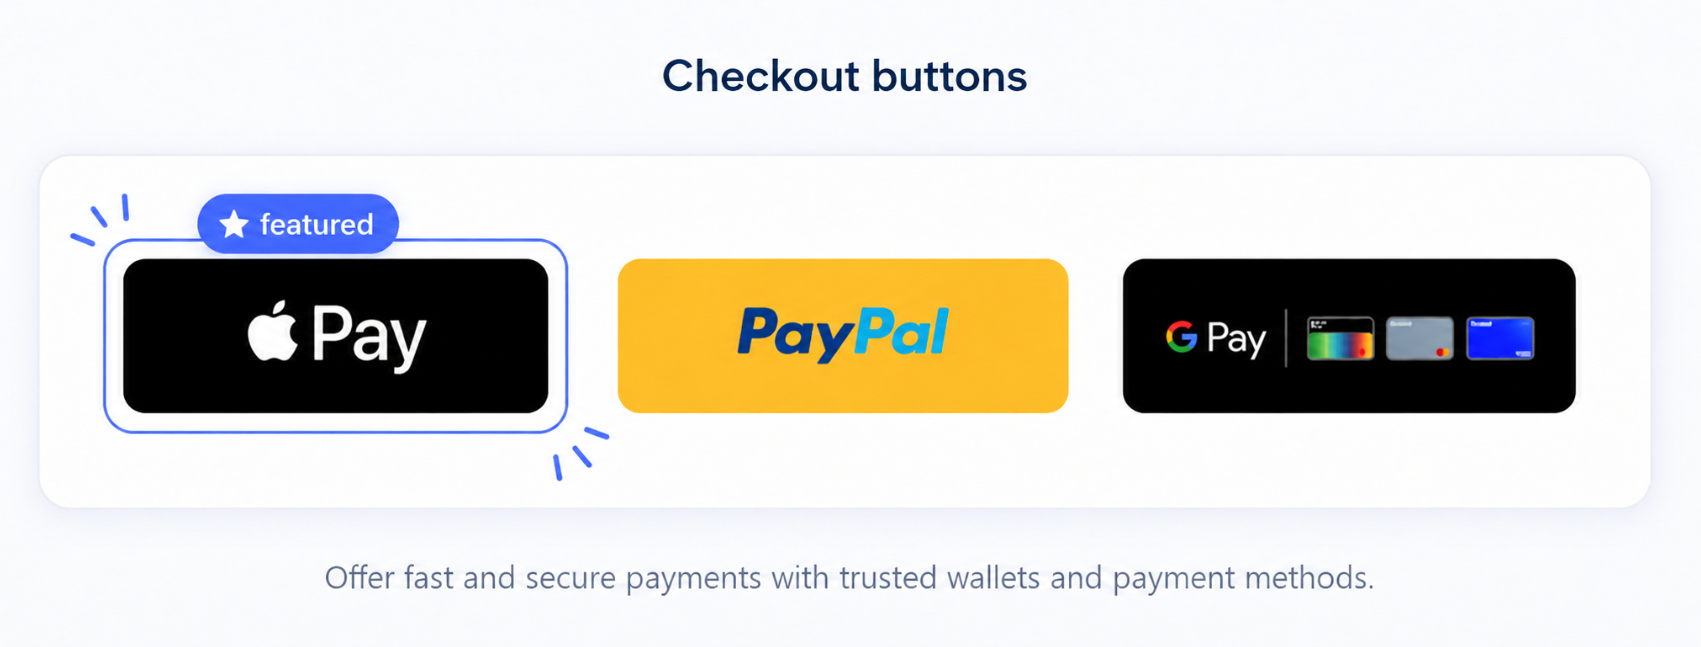
Apple Pay button in the checkout
Apple Pay registration
To display Apple Pay buttons on your own domain, your domain must be registered with both Apple and Google. We automatically handle this registration for the URLs you have submitted.
- Host our
.well-knownfile at:https://jouwdomein.nl/.well-known/apple-developer-merchantid-domain-association - Download the file here:
Right-click → Save as
Download here - Contact support@pay.nl. Use “Pay.Parts Apple Pay button activation” as the subject and ask to have your domain whitelisted. Include the SL codes or URLs you would like to onboard.
- Make sure you have fully completed Apple Pay (Credit Card) onboarding. You can check the status in the Sales Locations overview.
Email template:
Good afternoon,
We would like to apply for the beta of the Apple Pay button via Pay.Parts.
Our details:
- Sales location(s) (SL code): […]
- Production environment domain(s): […]
- Test environment domain(s) (if applicable): […]
Preparation:
- Apple Pay (Credit Card) onboarding completed: [Yes / No]
- The verification file is available on each submitted domain at
/.well-known/apple-developer-merchantid-domain-association: [Yes / No]
Could you let us know whether we can participate in the beta and have our domains whitelisted for this purpose?
Important: You can only use the Apple Pay button once onboarding is complete and your domain has been whitelisted. You will receive confirmation by email. If your URL has not been submitted, you can still display the button, but the window will close after the customer scans the QR code or clicks the button.
Where can Checkout Buttons be placed?
Checkout Buttons are flexible and can be used in several locations within your online store:
1: In the checkout
The most common placement is after the customer has entered their address details in the checkout. At this point, the customer has already provided their details and can pay directly with Apple Pay or Google Pay.
2: Before the checkout
You can also display Checkout Buttons before the checkout, for example in the shopping cart. Customers can then pay directly without having to go through the entire checkout first.
3: On the product page
For the shortest possible customer journey, Checkout Buttons can even be placed directly on a product page. A “Buy now with Apple Pay” or “Buy now with Google Pay” button allows the customer to start an order straight away.
Automatically filling in address details
When a payment is initiated via Apple Pay or Google Pay, the address details stored in the wallet can be used to complete the order.
Depending on the information the customer has saved in their Apple or Google account, the following details may be made available:
- Name
- Email address
- Phone number
- Billing address
- Shipping address
This means the customer does not have to enter these details manually again, reducing the risk of errors and significantly speeding up the checkout.
Please note: Only information the customer has saved and consented to share is provided. The availability of address details therefore depends on the settings in Apple Pay or Google Pay.
Which placement is best?
There is no single best position; it depends on the online store and the purchasing process.
- After entering address details: suitable when additional information or validation is required before the payment is initiated.
- Before the checkout: reduces the number of steps for returning customers.
- On the product page: offers the fastest purchasing experience and can increase conversion for straightforward purchases.
Configuring Apple Pay contact details in the SDK
With Checkout Buttons, you can specify which information PAY requests from Google Wallet during the payment process. This allows you to request only the information needed to process the order correctly. Apple Pay distinguishes between two types of information:
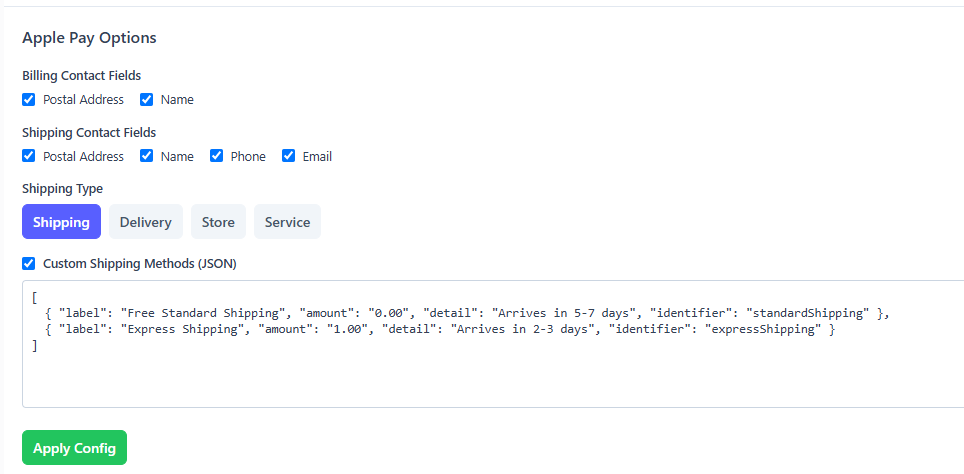
Billing Contact Fields
These details relate to the customer’s billing address.
Available fields include:
- Name
- Postal address
These details are particularly relevant when you need a billing address for administrative or tax purposes.
Shipping Contact Fields
These details relate to the shipping address.
You can request the following fields:
- Name
- Postal address
- Email address
- Phone number
Apple displays these details to the customer and asks for consent before sharing them with the merchant.
Please note: Only information the customer has saved in Apple Wallet and consented to share is returned.
Shipping Type
You can specify what the shipping address will be used for. Apple Pay adjusts its user interface accordingly.
The following options are supported:
| Type | Usage |
|---|---|
| Shipping | Shipping physical products. |
| Delivery | Home delivery, for example meals or groceries. |
| Store | Collection from a store or collection point. |
| Service | Services that require a location or contact details. |
Always choose the type that best matches your order.
Displaying custom shipping methods
When you enable Custom Shipping Methods (JSON), you can offer multiple shipping options during the Apple Pay checkout.
For example:
- Free standard shipping
- Express shipping
- Evening delivery
- In-store collection
Each shipping method contains:
- label – the name displayed to the customer.
- amount – the cost of the shipping method.
- detail – a short description, such as the delivery time.
- identifier – a unique technical identifier.
Example:
[ { "label": "Free Standard Shipping", "amount": "0.00", "detail": "Arrives in 5-7 days", "identifier": "standardShipping" }, { "label": "Express Shipping", "amount": "1.00", "detail": "Arrives in 2-3 days", "identifier": "expressShipping" } ]Once the customer has selected a shipping method, this information is returned so you can apply the correct shipping costs.
Best practices
- Only request the information you actually need.
- Only use Billing Contact when a billing address is required.
- Use Shipping Contact for orders that need to be delivered.
- Choose the correct Shipping Type so Apple Pay can display the most appropriate user experience.
- Only offer shipping methods that are actually available for the order.
By requesting only the necessary information, you keep the payment experience fast and user-friendly while still receiving all the details needed to process the order correctly.